Upload a Logo to your Account
Available on all tiers:
Info:On the Essentials tier, custom branding is only available in Documents.
About
Easily add your own logo to the mobile app, the web portal, and your PDF documents. Read here for more details about custom branding.
Watch the video below to learn how to upload a logo to your account.
Upload your Logo
-
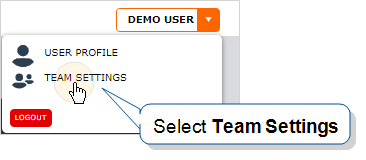
In the web portal, mouse over your username in the top right corner. Select "Team Settings
 The Team Settings page is the page where an admin can manage their team's account and edit certain information, such as assigning a Problem Contact Email Address, toggling push notifications, and viewing the account's billing information.."
-
You must be logged in as an admin to access these settings.
-
-
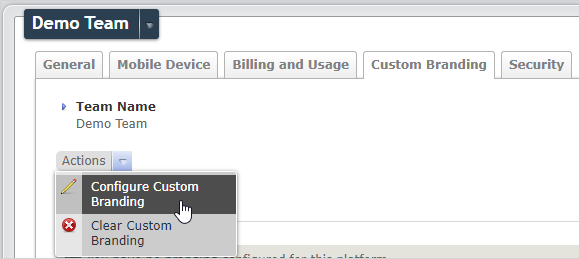
Enter the custom branding tab. Mouse over Actions and select "Configure Custom Branding."
-
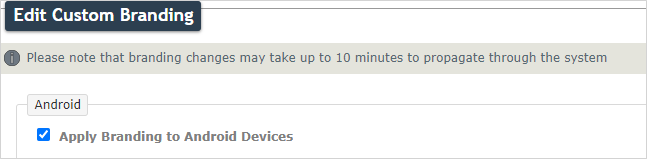
Check the box next to the client or location you would like to add your logo to.
Note:Custom branding on the Essentials tier is only available on Documents.
-
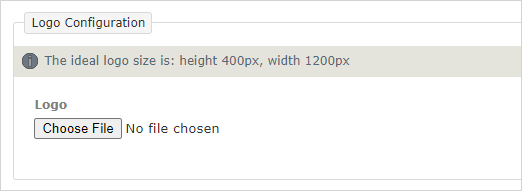
Upload your logo file. The recommended size for the banner logo is 1200px long by 400px wide.
-
Select Update.